Tundra Manual Transmission: A Comprehensive Guide (Updated 04/07/2026)
This guide details the intricacies of Toyota Tundra manual transmissions, addressing recalls impacting approximately 280,000 trucks and SUVs due to creeping issues in neutral.
The Toyota Tundra’s manual transmission, while historically available, represents a niche offering within the full-size truck market. For enthusiasts prioritizing driver engagement and control, the manual Tundra provides a distinct experience compared to its automatic counterparts. However, recent years have seen a decline in manual transmission availability across the automotive industry, and the Tundra is no exception.
This comprehensive guide aims to serve as a resource for owners and prospective buyers interested in Tundra models equipped with a manual gearbox. We will delve into the specifics of each generation, outlining available years and transmission codes. Crucially, we will address a recent recall affecting a substantial number of Toyota trucks and SUVs – including some Tundras – related to a transmission issue causing unintended vehicle movement while in neutral. Understanding this recall is paramount for current owners, ensuring vehicle safety and addressing potential concerns.
This guide will also cover maintenance, common problems, and repair procedures, empowering owners to keep their Tundra’s manual transmission operating smoothly for years to come.
Historical Overview of Manual Transmissions in the Tundra
The introduction of the first-generation Toyota Tundra in 1999 marked a shift in Toyota’s full-size truck strategy, and manual transmissions were initially offered as a standard option, catering to buyers who preferred a more connected driving experience. Throughout the early 2000s, the five-speed manual remained a consistent choice, though its popularity gradually diminished as automatic transmissions gained dominance in the truck segment.
The second-generation Tundra (2007-2013) continued to offer a manual transmission, but its availability became increasingly limited, often restricted to specific trim levels and engine configurations. This trend reflected broader market preferences and a focus on convenience. The recent recall impacting 280,000 Toyota vehicles, including some Tundras, highlights the ongoing need for vigilance regarding transmission functionality, even in older models.
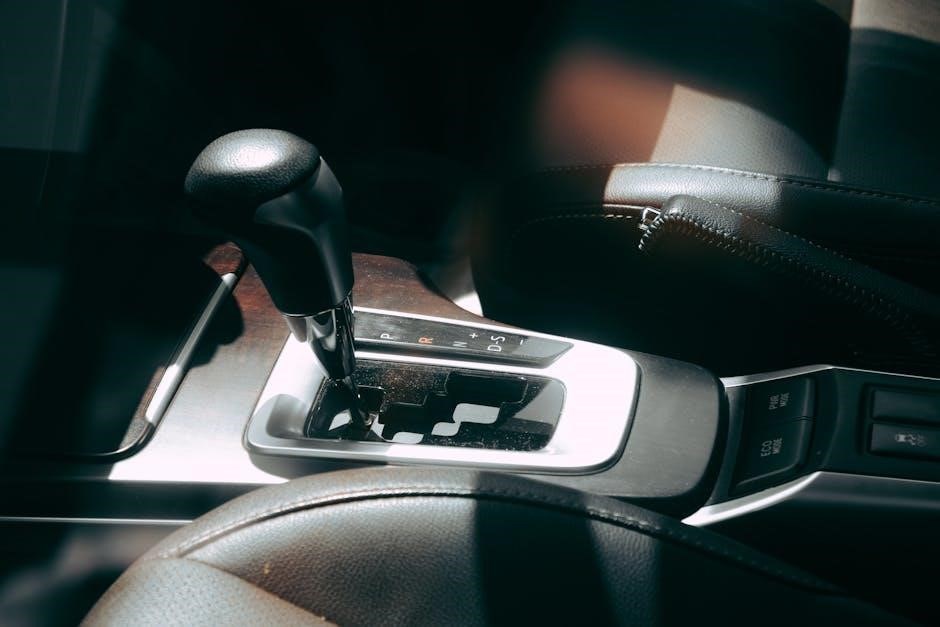
Currently, manual transmissions are no longer offered in the third-generation Tundra, signifying a complete transition to automatic transmissions for this model line.
Tundra Manual Transmission Models & Years
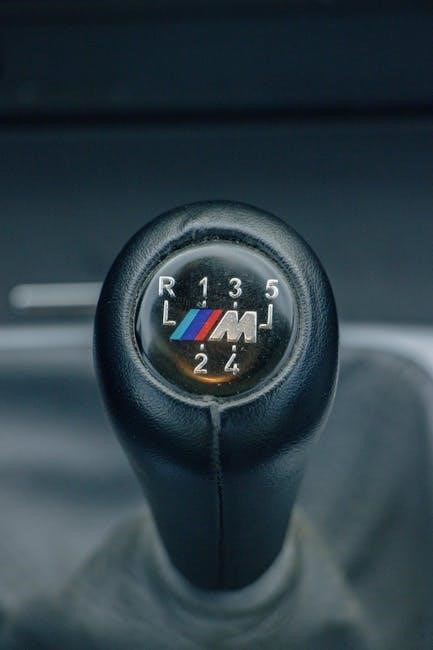
The Toyota Tundra offered manual transmission options across its first two generations. Specifically, the 1999-2006 first-generation Tundra included a five-speed manual as a standard configuration on certain base models, typically with the 4.7L V8 engine. Availability varied by trim level and cab configuration.
The second-generation Tundra (2007-2013) continued to provide a five-speed manual, but its presence became more restricted. It was primarily found on lower trim levels and with the 4.6L V8 engine. By the later years of this generation, manual options were increasingly scarce.
As of 2014, with the introduction of the third-generation Tundra, Toyota discontinued the manual transmission entirely. Recent recalls, affecting around 280,000 vehicles, do not specifically target manual transmissions, but emphasize the importance of transmission reliability across all Tundra models.
First Generation Tundra (1999-2006) Manual Options
The inaugural Tundra generation (1999-2006) prominently featured a five-speed manual transmission, particularly within the base SR5 models. This configuration was commonly paired with the robust 4.7-liter V8 engine, offering drivers a direct connection to the vehicle’s power. However, availability wasn’t universal; higher trim levels often defaulted to automatic transmissions.
The manual gearbox provided a more engaging driving experience, favored by those prioritizing control and fuel efficiency. It was a popular choice for work trucks and those seeking a simpler mechanical setup. Identifying these models involves checking the transmission code and verifying the absence of automatic transmission features.
While reliable, these early Tundra manuals, like all mechanical components, were subject to wear and tear. Current recalls impacting Tundra transmissions don’t directly address first-generation manual issues, but highlight the importance of regular maintenance.
Second Generation Tundra (2007-2013) Manual Options
The second-generation Tundra (2007-2013) saw a significant reduction in manual transmission availability. While the first generation offered it widely in SR5 trims, the second generation largely relegated the five-speed manual to specific fleet and commercial applications. It was primarily paired with the 4.6-liter V8 engine, focusing on utilitarian needs rather than driver preference.
Finding a second-generation Tundra with a manual transmission is considerably more challenging than locating a first-generation model. Toyota shifted its focus towards automatic transmissions, catering to a broader consumer base. Documentation and vehicle history reports are crucial for verifying the presence of a manual gearbox.
These later manual transmissions benefited from incremental improvements in durability, but still require diligent maintenance. The current recall concerning creeping in neutral doesn’t directly apply to these models, but emphasizes transmission vigilance.
Third Generation Tundra (2014-Present) Manual Options ー Availability & Discontinuation

The third-generation Tundra (2014-Present) completely discontinued the manual transmission option. Toyota ceased offering a stick-shift configuration, aligning with industry trends and consumer demand favoring automatic transmissions. This decision reflects a broader shift towards convenience and ease of use in full-size pickup trucks.
Despite enthusiast requests, a manual option never returned, even with subsequent model year updates. The focus remained on refining the automatic transmission, incorporating features like more gears and improved shift logic. This change simplifies the Tundra’s powertrain offerings, but eliminates choice for drivers preferring manual control.
The recent recall regarding creeping in neutral highlights the complexities of modern automatic transmissions, a technology now exclusively featured in the current Tundra lineup. Manual transmission enthusiasts must look to older models.

Technical Specifications & Components
This section delves into the core mechanics of the Tundra’s manual transmissions, examining gear ratios, clutch systems, and the intricate synchromesh mechanisms within.
Gear Ratios and Transmission Codes (V6 vs. V8)
Understanding the gear ratios is crucial for optimizing Tundra performance. V6 models typically featured different ratios compared to the robust V8 options, influencing both acceleration and fuel efficiency. Early Tundra manuals (1999-2006) often utilized the R150F transmission, known for its durability, with gear ratios tailored for towing and off-road capability.
Later generations saw variations, including the potential use of different transmission codes depending on engine and model year. Identifying the specific transmission code – often stamped on the transmission casing – is vital for sourcing correct parts and understanding its internal configuration. The first gear ratio significantly impacts initial acceleration, while higher gears prioritize highway cruising.
V8 Tundras generally benefited from slightly lower (numerically higher) gear ratios to handle increased torque, providing a balance between power and efficiency. Detailed charts outlining specific ratios for each year and engine combination are essential for informed maintenance and potential gear swaps.
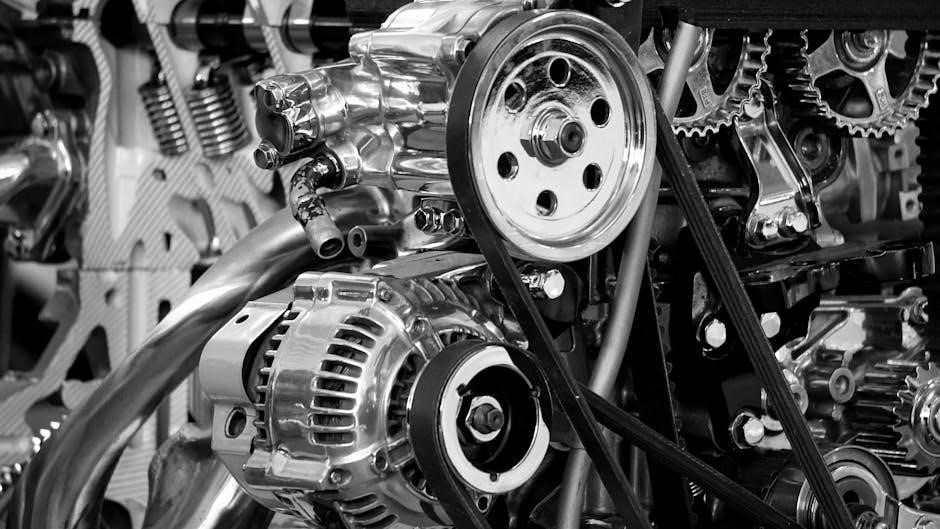
Clutch System Details: Type, Size, and Operation
The Tundra’s manual transmission relies on a robust clutch system for smooth gear changes. Typically, these systems employ a single-plate, dry-disc clutch, designed to withstand the engine’s torque output. Clutch diameter varies between models and years, with V8 variants generally utilizing larger discs for increased clamping force.
Operation involves the driver depressing the clutch pedal, disengaging the engine from the transmission via the pressure plate and release bearing. Proper clutch engagement is vital to prevent premature wear and ensure smooth transitions. Hydraulic clutch systems were common, utilizing a master and slave cylinder to transmit pedal force.
Regular inspection of the clutch disc, pressure plate, and throw-out bearing is crucial. Symptoms of a failing clutch include slipping, shuddering, and difficulty engaging gears. Maintaining proper clutch cable adjustment (if applicable) is also essential for optimal performance.
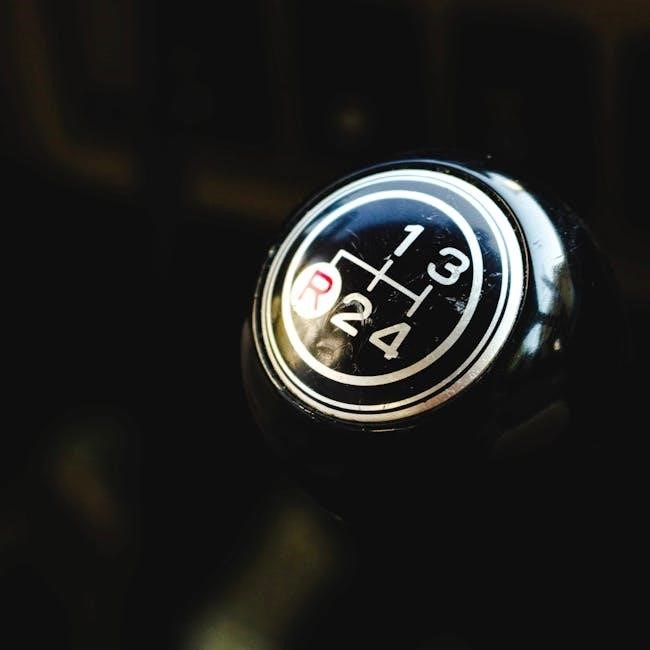
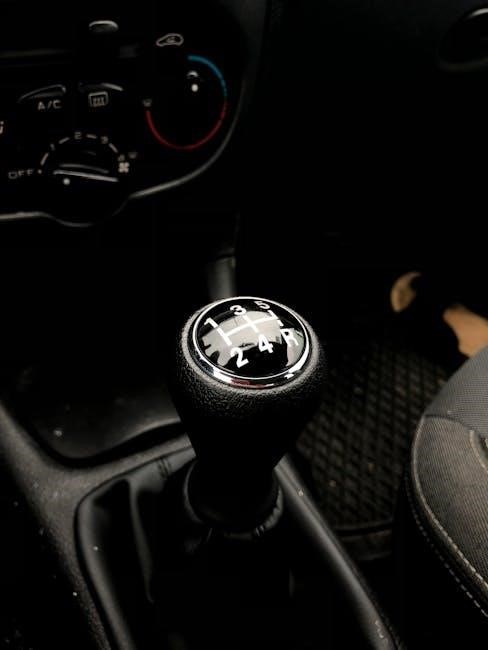
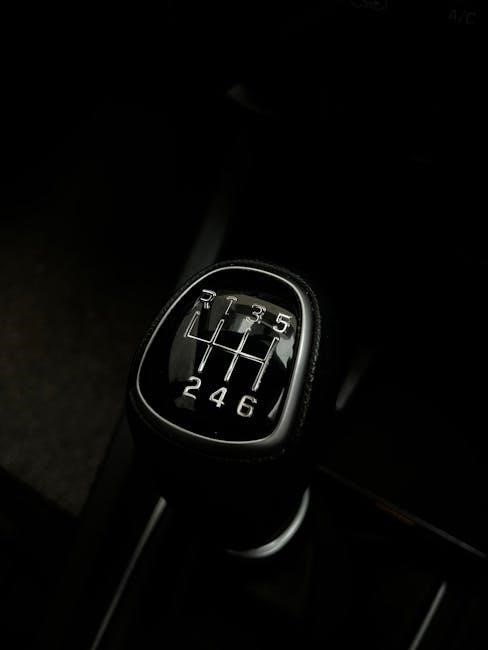
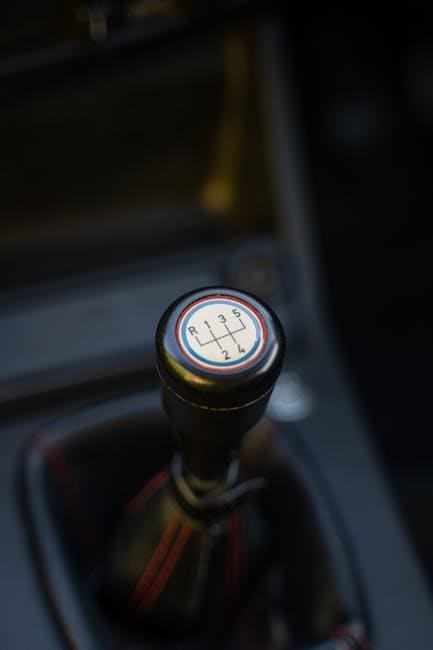
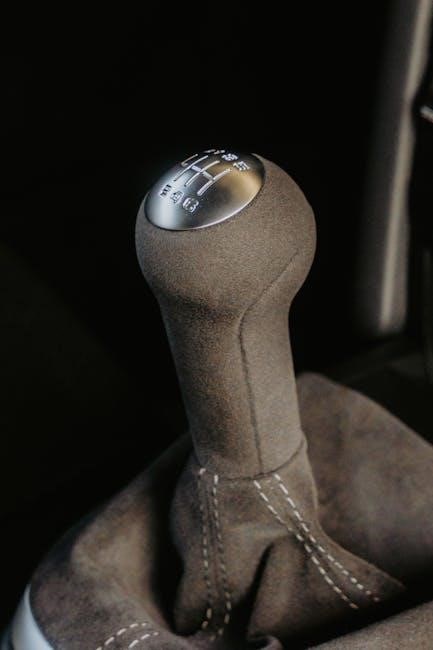
Synchromesh and Shift Mechanism Explained
The Tundra’s manual transmission utilizes synchromesh technology for smoother, faster gear changes. Synchromesh cones and blockers equalize the rotational speed of the gears before engagement, minimizing grinding and wear. This system is critical for driver comfort and transmission longevity.
The shift mechanism itself typically consists of a shift lever, linkage, and selector forks. These components translate the driver’s input into precise gear selection within the transmission. Linkage designs can vary, employing either direct or cable-operated systems.
Proper lubrication is paramount for synchromesh function. Worn synchronizers manifest as grinding during shifts, particularly into higher gears. Maintaining the shift linkage and ensuring free movement are vital for accurate gear engagement and preventing internal damage.
Common Tundra Manual Transmission Problems
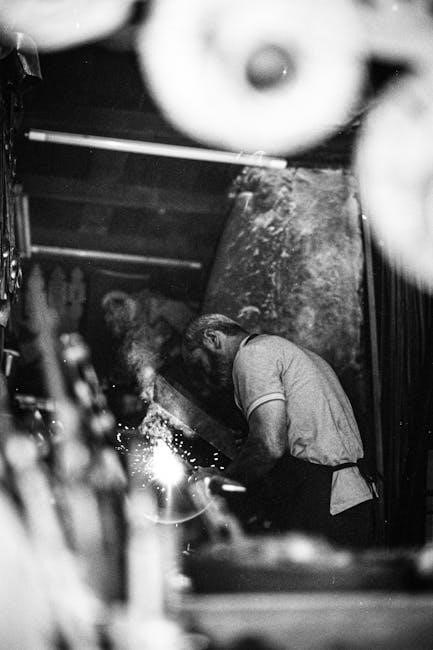
Tundra manual transmissions, while robust, aren’t immune to issues. A frequently reported problem, highlighted in recent recalls (as of 04/07/2026), involves vehicles unexpectedly creeping forward while in neutral – a potentially dangerous situation. This suggests issues within the transmission’s internal components or linkage.
Other common concerns include clutch wear leading to slippage or difficulty engaging gears. Shift linkage problems can cause imprecise shifting or difficulty selecting certain gears. Internal damage, often stemming from aggressive driving or lack of maintenance, can manifest as grinding noises or complete transmission failure.
Regular fluid checks and timely maintenance are crucial for preventing these issues. Addressing minor symptoms promptly can prevent costly repairs down the line.
Clutch Wear and Failure Symptoms
Recognizing clutch wear is vital for Tundra manual transmission longevity. Initial symptoms often include a gradual increase in pedal travel before the clutch engages. Slippage, particularly during acceleration or uphill climbs, is a key indicator, causing engine RPM to rise without a corresponding increase in speed. This can generate excessive heat and accelerate wear.
More severe symptoms involve difficulty shifting into gear, especially first or reverse. A shuddering sensation during engagement suggests significant wear or damage. A burning smell often accompanies advanced clutch failure, indicating severe overheating. Ignoring these signs can lead to complete clutch failure, requiring a full replacement.
Shift Linkage Issues and Repair
Problems with the Tundra’s manual transmission shift linkage can manifest as imprecise shifting, difficulty selecting gears, or a feeling of looseness in the shifter. These issues often stem from worn bushings, loose connections, or damage to the linkage components themselves. Inspecting the linkage for play is the first step in diagnosis.
Repair typically involves replacing worn bushings – a relatively inexpensive fix. Tightening loose connections can also resolve minor issues. More significant damage may require replacing entire linkage rods or the shifter assembly. Proper lubrication of all moving parts is crucial during reassembly. Accurate adjustment of the linkage is essential to ensure smooth and precise gear selection, preventing further wear and tear.
Synchro Problems: Grinding Gears & Causes
Grinding gears during shifts is a classic symptom of failing synchronizers (synchros) within the Tundra’s manual transmission. Synchros are responsible for matching the speed of the gears before engagement, allowing for smooth shifting. When worn, they fail to synchronize properly, resulting in that unpleasant grinding noise.
Common causes include aggressive shifting, infrequent transmission fluid changes, and simply age-related wear. Identifying which synchro is failing requires careful diagnosis, often based on which gears exhibit the grinding. Repair necessitates transmission disassembly and synchro replacement – a complex task best left to experienced mechanics. Ignoring the issue can lead to further damage to the gears themselves, escalating repair costs.
Internal Transmission Damage: Identifying and Addressing
Significant internal damage within a Tundra manual transmission often manifests as loud noises, difficulty selecting gears, or complete transmission failure. Identifying the root cause requires a thorough inspection, potentially involving a complete teardown. Common culprits include broken gears, damaged bearings, and a compromised main shaft.
Addressing such damage typically necessitates a full transmission rebuild or replacement. Rebuilding involves disassembling the transmission, inspecting all components, replacing worn or broken parts, and reassembling with new seals and fluids. Replacement offers a quicker solution, but can be more expensive. Proper diagnosis is crucial to determine the most cost-effective and reliable repair path.

Maintenance and Repair
Regular fluid checks, timely clutch replacements, and addressing shift linkage issues are vital for maintaining a Tundra’s manual transmission’s longevity and performance.
Recommended Fluid Types and Change Intervals
Maintaining the correct fluid level and using the specified type is crucial for your Tundra’s manual transmission health. Toyota generally recommends using a high-quality 75W-90 gear oil that meets ILSAC Multi-Vehicle Automatic Transmission Fluid standards. However, always verify the specific recommendation in your owner’s manual, as variations can exist based on model year and transmission code.
Regarding change intervals, a good rule of thumb is to inspect the fluid every 30,000 miles and replace it completely every 60,000 miles under normal driving conditions. For those engaging in heavy towing, off-roading, or frequent stop-and-go traffic, shortening the interval to 30,000 miles for a complete fluid change is advisable. Ignoring these intervals can lead to premature wear of synchronizers and bearings, ultimately causing costly repairs.
Always ensure the transmission is at operating temperature before checking the fluid level.
Clutch Replacement Procedure – Step-by-Step
Replacing the clutch on a Tundra requires mechanical expertise and proper tools. First, disconnect the battery and safely raise the vehicle, supporting it with jack stands. Drain the transmission fluid, then disconnect the driveshaft, shift linkage, and any wiring connected to the transmission. Support the engine from above. Remove the transmission, exposing the clutch assembly.
Inspect the flywheel for damage and resurface if necessary. Carefully remove the pressure plate and clutch disc. Clean the mating surfaces thoroughly. Install the new clutch disc, ensuring correct orientation, followed by the pressure plate. Torque to specification. Reinstall the transmission, reconnect all components, and refill with the correct fluid. Proper alignment and torque values are critical for a successful replacement.
Transmission Fluid Inspection and Top-Up
Regularly inspecting your Tundra’s manual transmission fluid is crucial for longevity. Locate the fill and check plugs, typically on the transmission’s side. With the vehicle level, remove the check plug and assess the fluid level – it should be even with the hole. The fluid should be a clear amber color; dark or metallic-tinged fluid indicates contamination and potential issues.
To top up, use the manufacturer-recommended gear oil (refer to your owner’s manual). Slowly add fluid through the fill plug until it reaches the correct level. Avoid overfilling, as this can cause pressure buildup and leaks. After topping up, reinstall both plugs securely. Consistent fluid level and quality contribute significantly to smooth shifting and prevent premature wear.
Troubleshooting Gear Selection Issues
Difficulty selecting gears in your Tundra’s manual transmission can stem from several sources. First, verify the clutch is fully disengaging; a partially engaged clutch hinders smooth shifts. Inspect the shift linkage for looseness or damage – worn bushings contribute to imprecise shifting. Check for obstructions near the shift lever or within the transmission itself.
If grinding occurs, especially when shifting into reverse, suspect synchromesh issues. Low or contaminated transmission fluid can also cause selection problems. Ensure the fluid level is correct and the fluid is clean. A misadjusted clutch cable or hydraulic system can also be a culprit. If issues persist, professional diagnosis is recommended to prevent further damage.
Toyota Tundra Transmission Recalls & Technical Service Bulletins
Recent recalls, notably in 2026, address a creeping issue in neutral affecting around 280,000 Tundra trucks and SUVs, requiring immediate attention.
Recent Recall Information (Focusing on Creeping in Neutral ⏤ 2026 Data)
As of April 7th, 2026, Toyota has issued a significant recall impacting approximately 280,000 Tundra pickup trucks and SUVs, manufactured including those assembled in San Antonio. The core issue centers around a potential malfunction within the transmission system, specifically causing vehicles to unexpectedly creep forward even when shifted into neutral. This poses a clear safety risk, potentially leading to unintended acceleration and increasing the likelihood of collisions.
The recall encompasses various model years, and owners are strongly urged to check the National Highway Traffic Safety Administration (NHTSA) website or contact their local Toyota dealership to determine if their vehicle is affected. The repair, currently being finalized, will involve a software update or, in some cases, a physical component replacement within the transmission control system. Toyota is committed to resolving this issue swiftly and ensuring the safety of all Tundra owners.
Relevant TSBs for Manual Transmission Concerns
Beyond the recent recall, Toyota has released several Technical Service Bulletins (TSBs) addressing common concerns with Tundra manual transmissions. These bulletins provide guidance to technicians for diagnosing and resolving issues that may not necessitate a formal recall, but impact vehicle performance and driver experience. Frequent TSBs detail solutions for rough shifting, particularly between first and second gear, often linked to clutch hydraulic system inconsistencies.
Other bulletins address potential problems with the shift linkage, leading to imprecise gear selection or difficulty engaging certain gears. Owners experiencing these symptoms should consult a Toyota dealership and inquire about applicable TSBs. Utilizing these bulletins can often resolve issues quickly and cost-effectively, preventing escalation to more significant repairs. Regularly checking for updated TSBs is recommended for optimal transmission health.